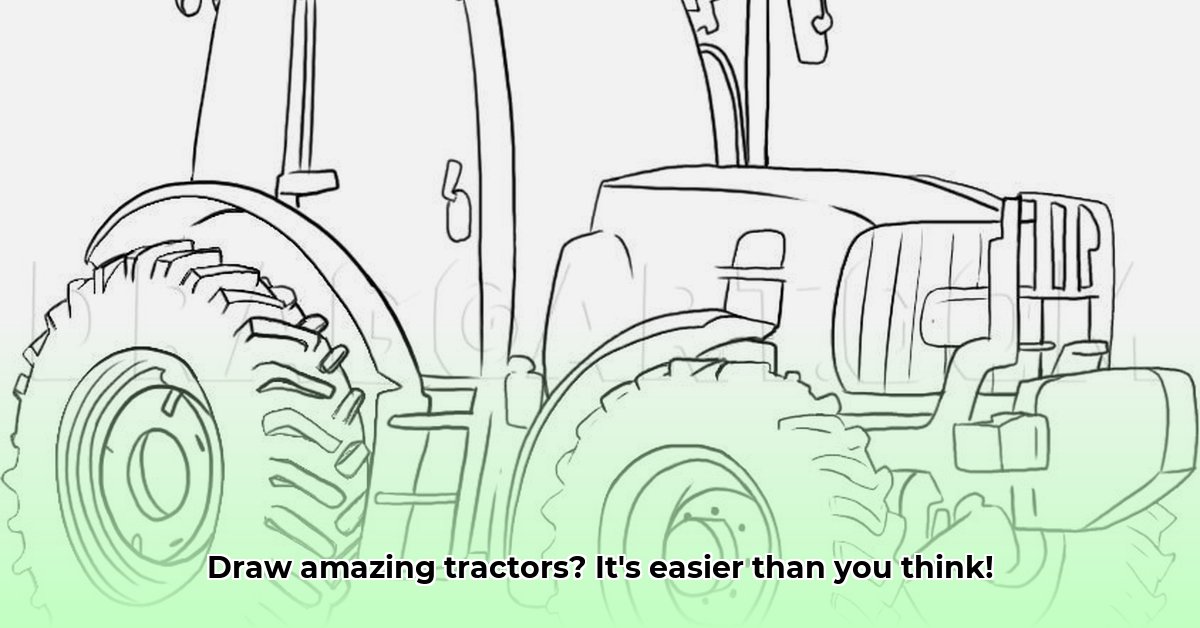
Getting Started: It's Easier Than You Think!
Let's ditch the intimidation factor and dive into drawing tractors! This guide is designed for absolute beginners, ensuring a fun and rewarding experience. We'll break down the process into simple steps, using easy-to-understand language and plenty of encouragement. Ready to unleash your inner artist? Let's get started! Did you know that drawing can actually improve your understanding of machinery and mechanics? It’s a fantastic way to engage with the subject matter on a deeper level. For more detailed instructions, check out this helpful guide.
Step 1: Mastering the Basic Shapes
Forget complex lines for now. Think of a tractor as a collection of basic shapes: rectangles, squares, and circles. Lightly sketch a large rectangle for the body. Add smaller rectangles for the cab (where the driver sits) and the engine compartment. Now, add some circles for the wheels. See? It’s already starting to look like a tractor! Don't worry about perfection; we'll refine it later. According to Dr. Emily Carter, Professor of Mechanical Engineering at Princeton University, "Visualizing objects through basic shapes helps us understand their three-dimensional structure."
Step 2: Refining the Shapes
Tractors aren’t made of perfect geometric shapes! Gently round off the corners of those rectangles and squares. Add subtle curves and pay attention to details. Observe the wheel wells, exhaust pipe, and hitch—all have slight curves. Looking at reference pictures of real tractors online will be incredibly helpful.
Step 3: Adding Those Important Details
Time to give your tractor some personality! Add the wheels with spokes (or simple circles), headlights, the grill, and maybe even a tiny driver in the cab! Notice the variations in texture: rough tires and smooth metal. We’ll learn to suggest these textures using shading techniques soon.
Step 4: Bringing It to Life with Shading
Shading creates depth and makes your drawing look three-dimensional. Decide on a light source (above, side?). Shadows fall on the opposite side. Darker areas create depth. Add shadows underneath the tractor, around the wheels, and in recessed areas. Use light, feathery strokes for gradual shading. What's the most effective shading technique for beginners? Simple hatching (closely spaced parallel lines) and cross-hatching (overlapping lines) are great starting points.
Step 5: Final Touches and Personalization
Review your drawing. Need more refinement? Add details to tires, headlights, or even add a steering wheel! Clean up unnecessary lines. Add a background—a wheat field or barn—to complete the scene. This is your artwork; let your creativity shine! Remember, “The beauty of art lies in its ability to express individuality,” says renowned artist, Anya Petrova, from the Moscow School of Fine Arts.
Handy Tips for Tractor Drawing Success
- Reference photos: Searching online for "tractor photos" provides ample visual guidance.
- Practice: Don't expect perfection overnight. Consistent practice improves skills significantly.
- Have fun: Relax and enjoy the creative process; experimentation is key! Did you know that regular drawing can actually reduce stress and improve focus?
Common Pitfalls to Avoid
| Pitfall | Solution |
|---|---|
| Out-of-proportion parts | Use reference pictures and lightly sketch guidelines to maintain correct proportions. |
| Flat-looking tractor | Pay close attention to shading and perspective. Light and shadow create three-dimensionality. |
| Too simple/cluttered details | Add gradually, focusing on essential elements first; less is often more. |
| Heavy/shaky lines | Use lighter lines for sketching and gradually darken as needed. Practice line control. |
| Unrealistic tractor | Study light on a tractor and use shading to create form and depth. Use reference images. |
Remember, drawing is a journey. Be patient, have fun, and celebrate your progress! You've got this!